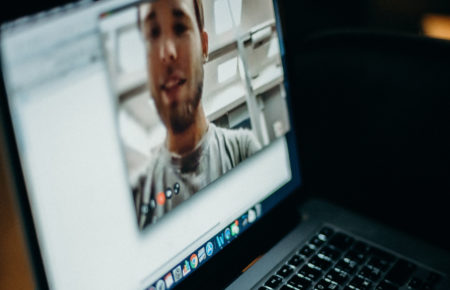
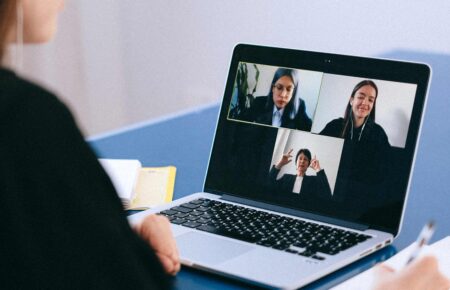
Web conferencing podcasts are all the rage right now and for a couple of obvious reasons. They’re good at getting people together separated by distance or inconvenience, and they are easy to record once you’re up and running. The other obvious reason why they are all the rage is out of necessity: as the government turns the screws daily on our ability to do anything face to face, we need ways of generating good, valuable content. So if you podcast and you want to keep that going, or you want to get started, and producing episodes at a decent standard is important to you, here are some essentials that you need to get sorted before you get started.
Check your upload speeds
What drove me crazy while the federal government was spruiking how many Netflix shows and movies you could stream all at once via its updated and technologically inferior NBN was the absence of any conversation about upload speeds. That is surely biting backsides across the country right now. If you want to send clear video and quality audio into a web conference (not just stream what the other members are doing), you need decent upload speeds. If you don’t have it, you need to get it. If NBN is now available in your area, get it now. If you’re on ADSL2, then you’re going to have some issues. Don’t settle for less than 15mb/s uploads. And if you can’t get NBN, you might need to use your mobile 4G, so another thing to look at is how much data you have on your mobile plan. If it’s low, I’d be looking at increasing that right away.
What mic options do you have?
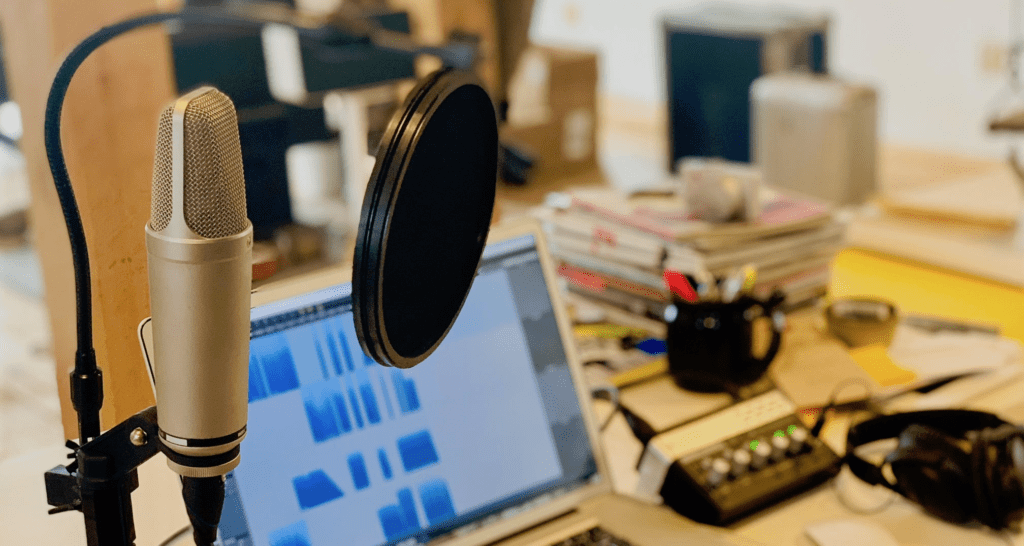
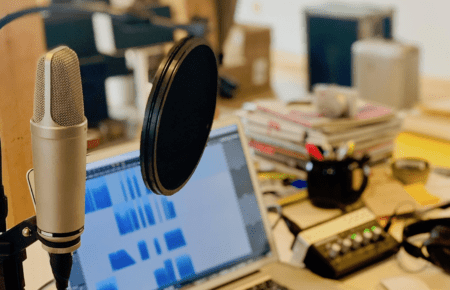
Your internal laptop mic is unlikely to give you the best sound quality possible. It’s fine for a Zoom chat, but it’s not going to be great for a podcast. A good option is to purchase a headset mic, at least for the conversation. In addition to that, I would also use your phone as a personal mic and recording device for back-up audio (actually, I think this option is best for ensuring the quality is balanced across all attendees, but it will require some post production). Download a good audio recording app. I absolutely love the Motiv Audio app by Shure (available for iPhone and Android). The reason I like it is it gives you options in terms of the quality of the recording, the file you ultimately output etc. If you have a mic that you can plug into your phone, it also has some cool options for digitally turning the phone into different types of mics (stereo, mono cardioid, mono bidirectional etc). It also has a limiter, equaliser etc. Then, once the web conference begins, record your own audio separately on your phone. Make sure you all have headphones on so that the audio coming from the other attendees via your computer doesn’t also get recorded. If everyone does that, the different audio tracks can then be brought together, and you can import them into audio editing software like Adobe Audition, and you can mix the tracks together for a great sounding podcast.
Pick an appropriate space
There’s rarely one perfect spot that ticks all of the boxes in your house, so looking at the pros and cons of your place before settling on a place to set up is important. The most important factor is finding a spot in the house that has the best wifi signal. Don’t pick a lovey room if it’s at the opposite end of the house to the router — unless you’re prepared to run an ethernet cable from the router to the room in question (which is not a bad option if you can do it). From there, pick somewhere with a clean background — don’t have too many distractions. People love to sit in front of bookcases. If you do that, be sure to scan the books that you have on there. The kama sutra might be something I’d take off there before getting started. Try to pick a room that has a closing door. Open rooms, like living and dining rooms run the risk of unwanted interrupters and other unnecessary and distracting noises.
Prepare your talking points
Very few people have the ability to go into an interview of any kind unprepared and spark a conversation that is engaging and interesting and void of awkward pauses and silences. Have your talking points planned. If your guest is there to converse rather than answer your questions, share these points with them and give them some time and opportunity to think about what they might be able to bring to the conversation. There’s nothing worse than mulling over the episode after you’ve finished recording and realised all the gold you could’ve brought up if you’d given it a bit more thought. Ultimately, for all that podcasts have to offer, they are nothing without great, interesting and engaging content. Preparation is key so do not skip this step.
Make sure you have plenty of light
If the podcast is just an audio recording (which technically, they should be) then this is one isn’t going to be an issue. However, many podcasts are also recorded as video casts, particularly when you have high profile guests, so imagery is going to be a factor. During daytime recordings, this element will be a key part of your room choice. Find a room with plenty of natural light and you’re sorted. For night-time recordings, you might need to bring some additional light into the room, like a desk lamp. Normal room lights are often harsh, and usually sit right above your head, which is never good, unless you’re shooting an interrogation scene for a cop show. Just bringing in a soft lamp that you can put on the desk or somewhere in front of you. This is likely to be a nice touch to ensuring you maximise the picture quality. Nothing too bright — something that is just going to act as a bit of fill.
Let us join your next podcast — not to talk, just to help maximise the quality. We can help with planning, set-up, recording, troubleshooting and also post-production, to ensure that it’s a smashing success. Drop us an email today at info@hookmedia.com.au
